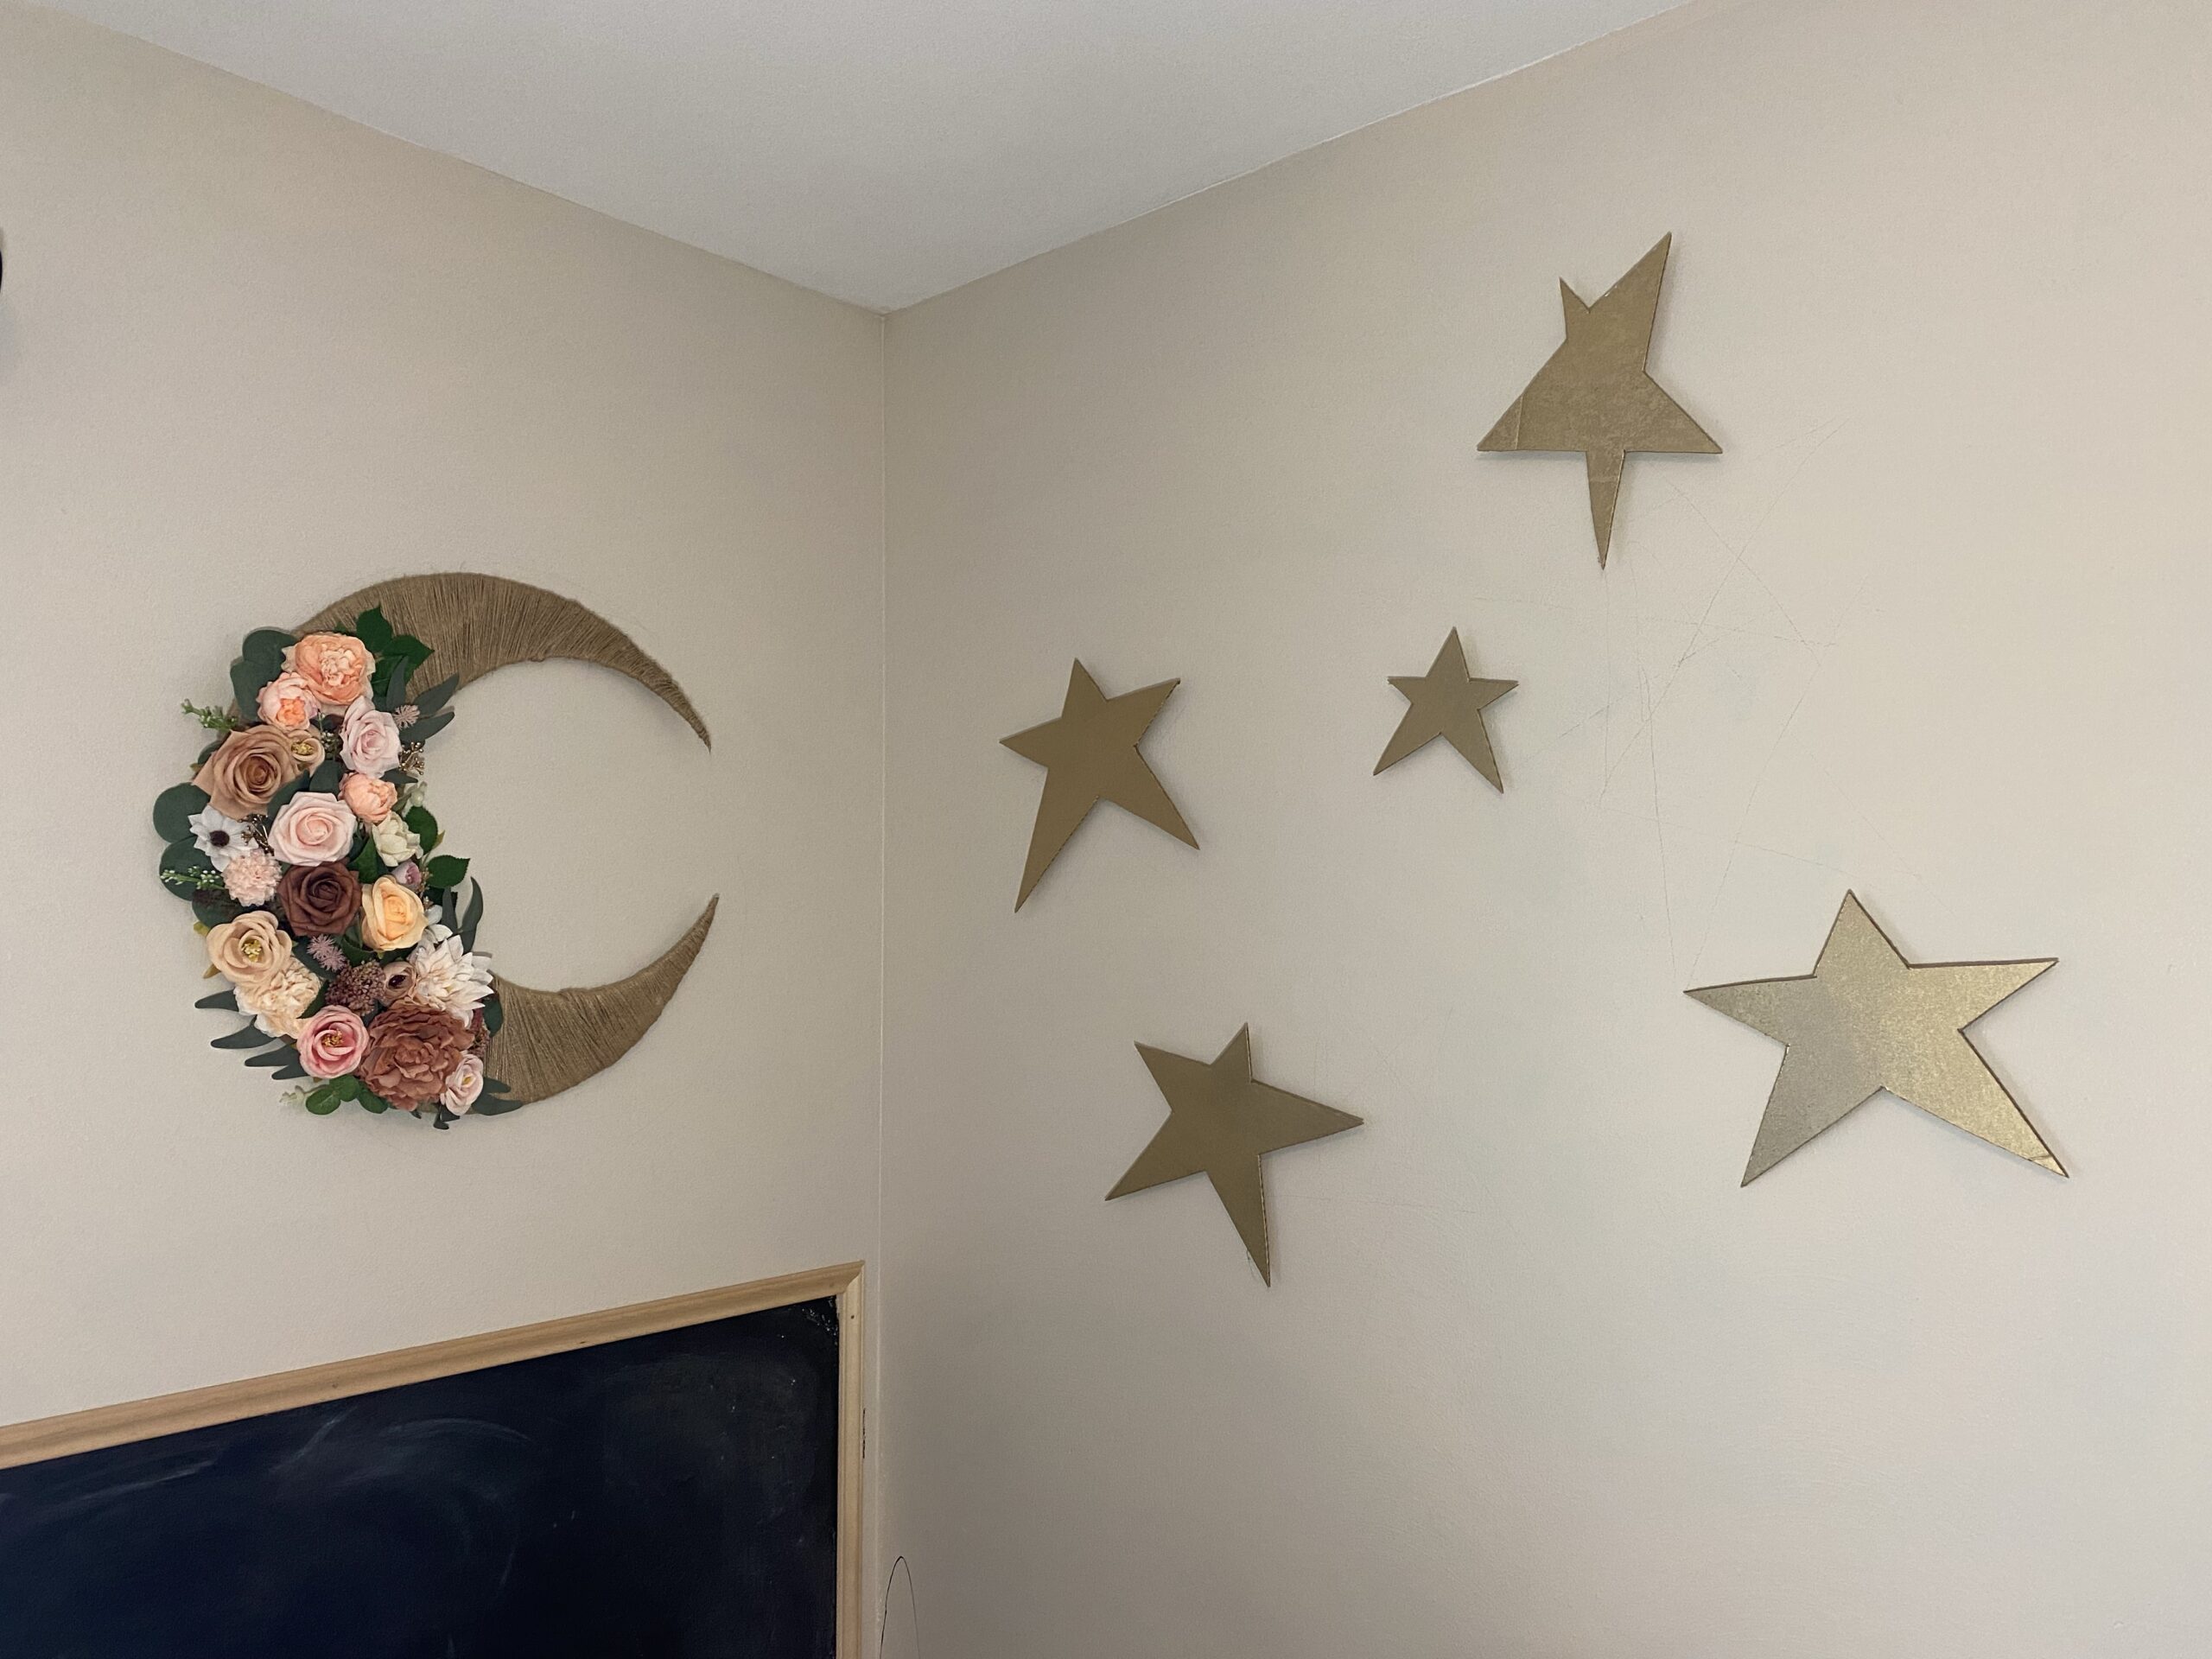
I might have a slight Amazon addiction, which means, I have a lot of spare cardboard. Especially after the holiday season. As I was redecorating my daughters room, I decided to use some of the spare cardboard to create this moon and stars wall decoration to add a little bit of extra whimsy to her room. This corner had previously been a blank wall, so it needed something. Other things I’ve done in her room were creating a framed chalkboard wall, and a painted rainbow with LED light up clouds, if you want to check out those posts.
Supplies:
- Cardboard
- Jute Twine (approximately 650 ft)
- Hot Glue
- Spray Paint – White and Gold (or other colors if you prefer)
- Box Cutter
- Double Sided Mounting Squares
- Faux Flowers
- Optional: Small Wooden Blocks (or a 2×2 cut into approximately 1/2″ thick blocks)
- A couple chopsticks
Stars:
Start by drawing several stars on a piece of cardboard. Size and number of stars is really up to you, but for mine, I did 5 stars, and they range in size from 6″ to 10″. Try to make the shape a bit different too so it doesn’t end up looking to uniform.

I used my speed square to make sure the lines of the star were perfectly straight, but any straight edge would work.


Using a box cutter, cut out each star.


I always have extra lumber around, and while this step isn’t necessary, I cut several 1/2″ blocks of wood from a 2×2 using my compound miter saw.


Then, using hot glue, I attached the 1/2″ blocks to the backs of the stars I had cut out. When the stars are hung they will be raised off the wall, and give the look that they are “floating” in place.

To paint the stars, I started with white just as a primer. I didn’t want any of the words printed on the boxes to show through the paint. After priming, I painted a couple coats using two different gold colors. The gold labeled “2” in the above photo gave a very shiny metallic appearance that I didn’t like, and the color 3 above gave more sparkly and was more of a matte finish.

Finally, using Double Sided Mounting Squares on the back of the stars, I hung them on the wall. With the exception of the one where you can see the cardboard crease, I think they turned out pretty good! These were SO easy to make, so I might end up replacing the ones that you can see the crease. Guess I need to order some more Amazon! (Who am I kidding, I already have…)
Moon:
Next I worked on the moon. For this piece, it doesn’t matter if there are creases in the cardboard. They will be covered up, and reinforced later in the process.


To start, I using a thumbtack with a string attached to it to draw the outer circle. (pin the thumb tack in the center-ish of the cardboard. Then, holding the string with a pencil attached about 10″ away from the thumb tack, draw a circle). Then I did the same thing to draw the smaller circle, offsetting it a bit to create the moon shape. After both circles are drawn, cut out the shapes using the box cutter.


Using hot glue and jute twine, hot glue one end to one point of the moon shape. Once this is cooled, start wrapping the jute twine around the moon. Hot gluing frequently as you go to keep the twine in place.

To help when I was wrapping the twine, I marked lines on the moon shape so I knew what direction I wanted the threading to go. This will help with continuity between the top and bottom once it’s completed. For the bottom side, I used approximately 325 feet of twine. I did NOT wrap all the way to the center as this section will be covered in the next step.

Now would also be a good time to add a couple chopsticks (or some other sturdy stick, even pencils would work). Hot glue these to the moon form to add stability. Continue to wrap the twine around the form.

Once the bottom section was all wrapped in twine, I started add faux flowers and foliage to the bottom. Each piece was hot glued in place. At this point, I hadn’t wrapped the top portion of the moon, so I only added a few pieces at the bottom (mostly because I didn’t want to be patient)…

I then wrapped the top of the moon form in jute twine the same way I did the bottom, making sure to follow the same lines that mirrored the pattern I had drawn on the bottom portion.

To further reinforce the back, I added few of the green wired stems that came with the faux flowers. I also hot glued along the entire back edge of where the jute twine was wrapped so the string wouldn’t shift once it was hung. (I used a lot of hot glue on this one…) Once it was reinforced, I continued to add faux flowers until the center section was completely covered!


All done! I simply used a couple small nails to hang the moon on the wall and that’s it!
Like the chalkboard wall? Check out my how-to post on creating one!
Please SUBSCRIBE to be notified when new project posts come out!
Happy DIY’ing!

