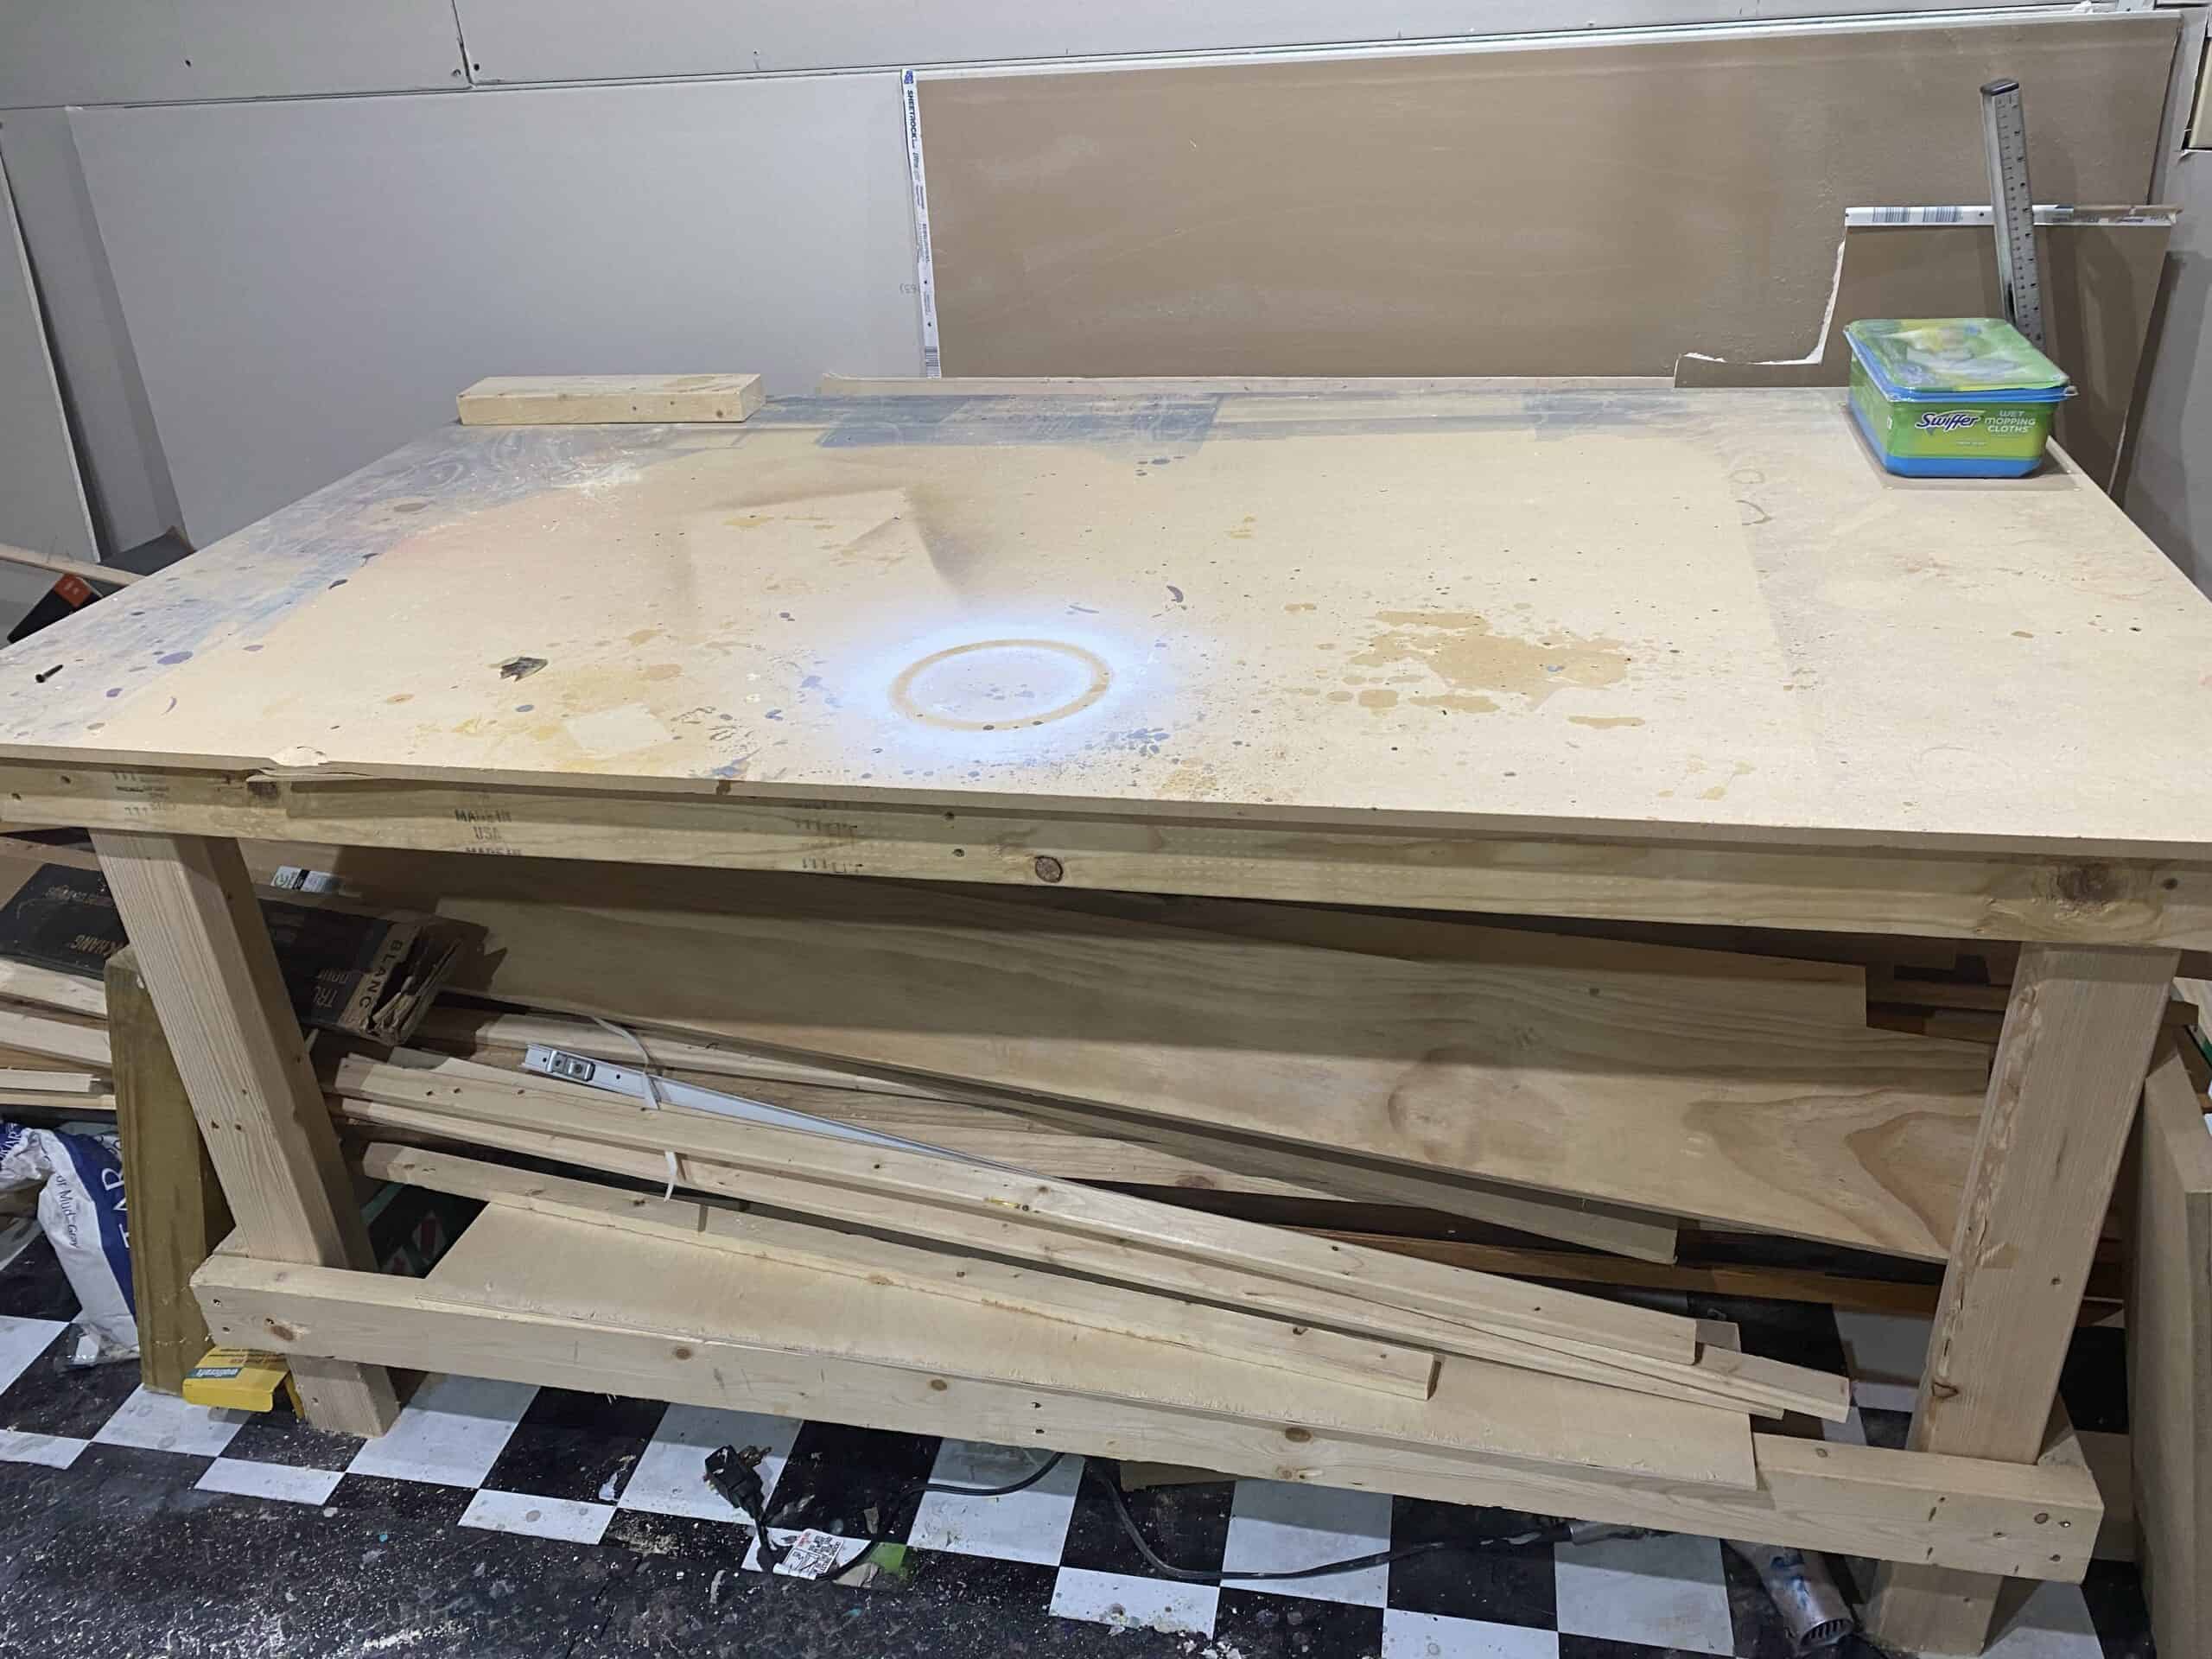
This is a very simple, but sturdy, workbench. The best part: if the top of the workbench gets damaged in any way, just change it out with a new piece. The lower section can either be left open, or add another platform for more storage. I use the lower area to hold all my longer pieces of lumber. Anyone can build this!

Material List:
- (1) 4 x 8 sheet of MDF or Plywood (whichever you prefer)
- (11) 6 foot 2 x 4 Pine Stud (they do NOT need to be ground contact)
- QUICK TIP: I like using 8 foot (or smaller) boards because they can usually fit in the average person’s vehicle, which means less cost to get the lumber from the store to your home 🙂
- 2 1/2″ Multi-Purpose Construction Screws
Cut List:
- MDF – 41.5″ x 73″ (you can make the top bigger if you prefer, but not smaller)
- Use (4) 6 foot 2 x 4’s – cut them to 68 inches in length.
- Part A – 68″ 2 x 4 (Qty – 4)
- Use (6) 6 foot 2 x 4’s – cut each into 2 pieces – 1 piece is 37 inches labeled Part B, 1 piece is 33 inches – labeled Part C.
- Part B – 37″ 2 x 4 (Qty – 6)
- Part C – 33″ 2 x 4 (Qty – 6)
- Use (1) 6 foot 2 x 4’s – cut (2) 33″ pieces – labeled Part D.
- Part C – 33″ 2 x 4 (Qty – 2)
Build:
- Take 2 pieces of Part C (33″ 2 x 4), and attach them at a 90 degree angle. These are the legs of the table. Insert at least 3 screws. The pen in the photo shows the direction the screws should be inserted.
- The pen is also pointing to the FRONT/BACK of the workbench, aka the LONG side of the bend. Understanding this will help in the next step.
- Repeat 3 times (you should now have 4 legs.)

2. Attach Part B to the top of 2 legs, one leg on each end. Do this twice so you have 2 pieces that look like the below. Insert 3 screws at each joint.

3. Measure and mark a line 3 inches from the bottom of each leg. Extend this mark across all the leg bottoms.

4. Secure another Part B just above this 3 inch mark, using 3 screws at each joint. After this step you should have 2 identical sides that look similar to the below graphic. These will be the SHORT ends of the bench.

5. Turn each of the section we created in the steps above so one is on the right, and one is on the left. The Part B board should be facing outward. Attach Part A to the tops of both left and right sides, use 3 screws at each joint. Part A will partially extend outward beyond the leg in order to secure to Part B on the side. (see below graphic).
- Repeat this step on the other side.

6. Attach another Part A just above the 3 inch mark, using 3 screws at each joint. Repeat on the other side. You should now have the square frame of the workbench.

7. For the remain 2 pieces of Part B, slide them into the center area of the frame, between the back and the front. Use 2 screws at the front, and 2 at the back to secure the middle piece of Part B to both the top and bottom frame sections.

8. Attach the MDF/Plywood top sheet using at least 6 screws.

How did you like this project?
Please SUBSCRIBE below for weekly notifications of new posts!
Happy DIY’ing!


How to Build a Floating Shelf - Two Hands DIY
[…] sanding was complete, I set the board up on stilts (you can also use upside down Solo cups) on my workbench. I used clean rags and applied Tung Oil to the board, following the product directions. WARNING: […]