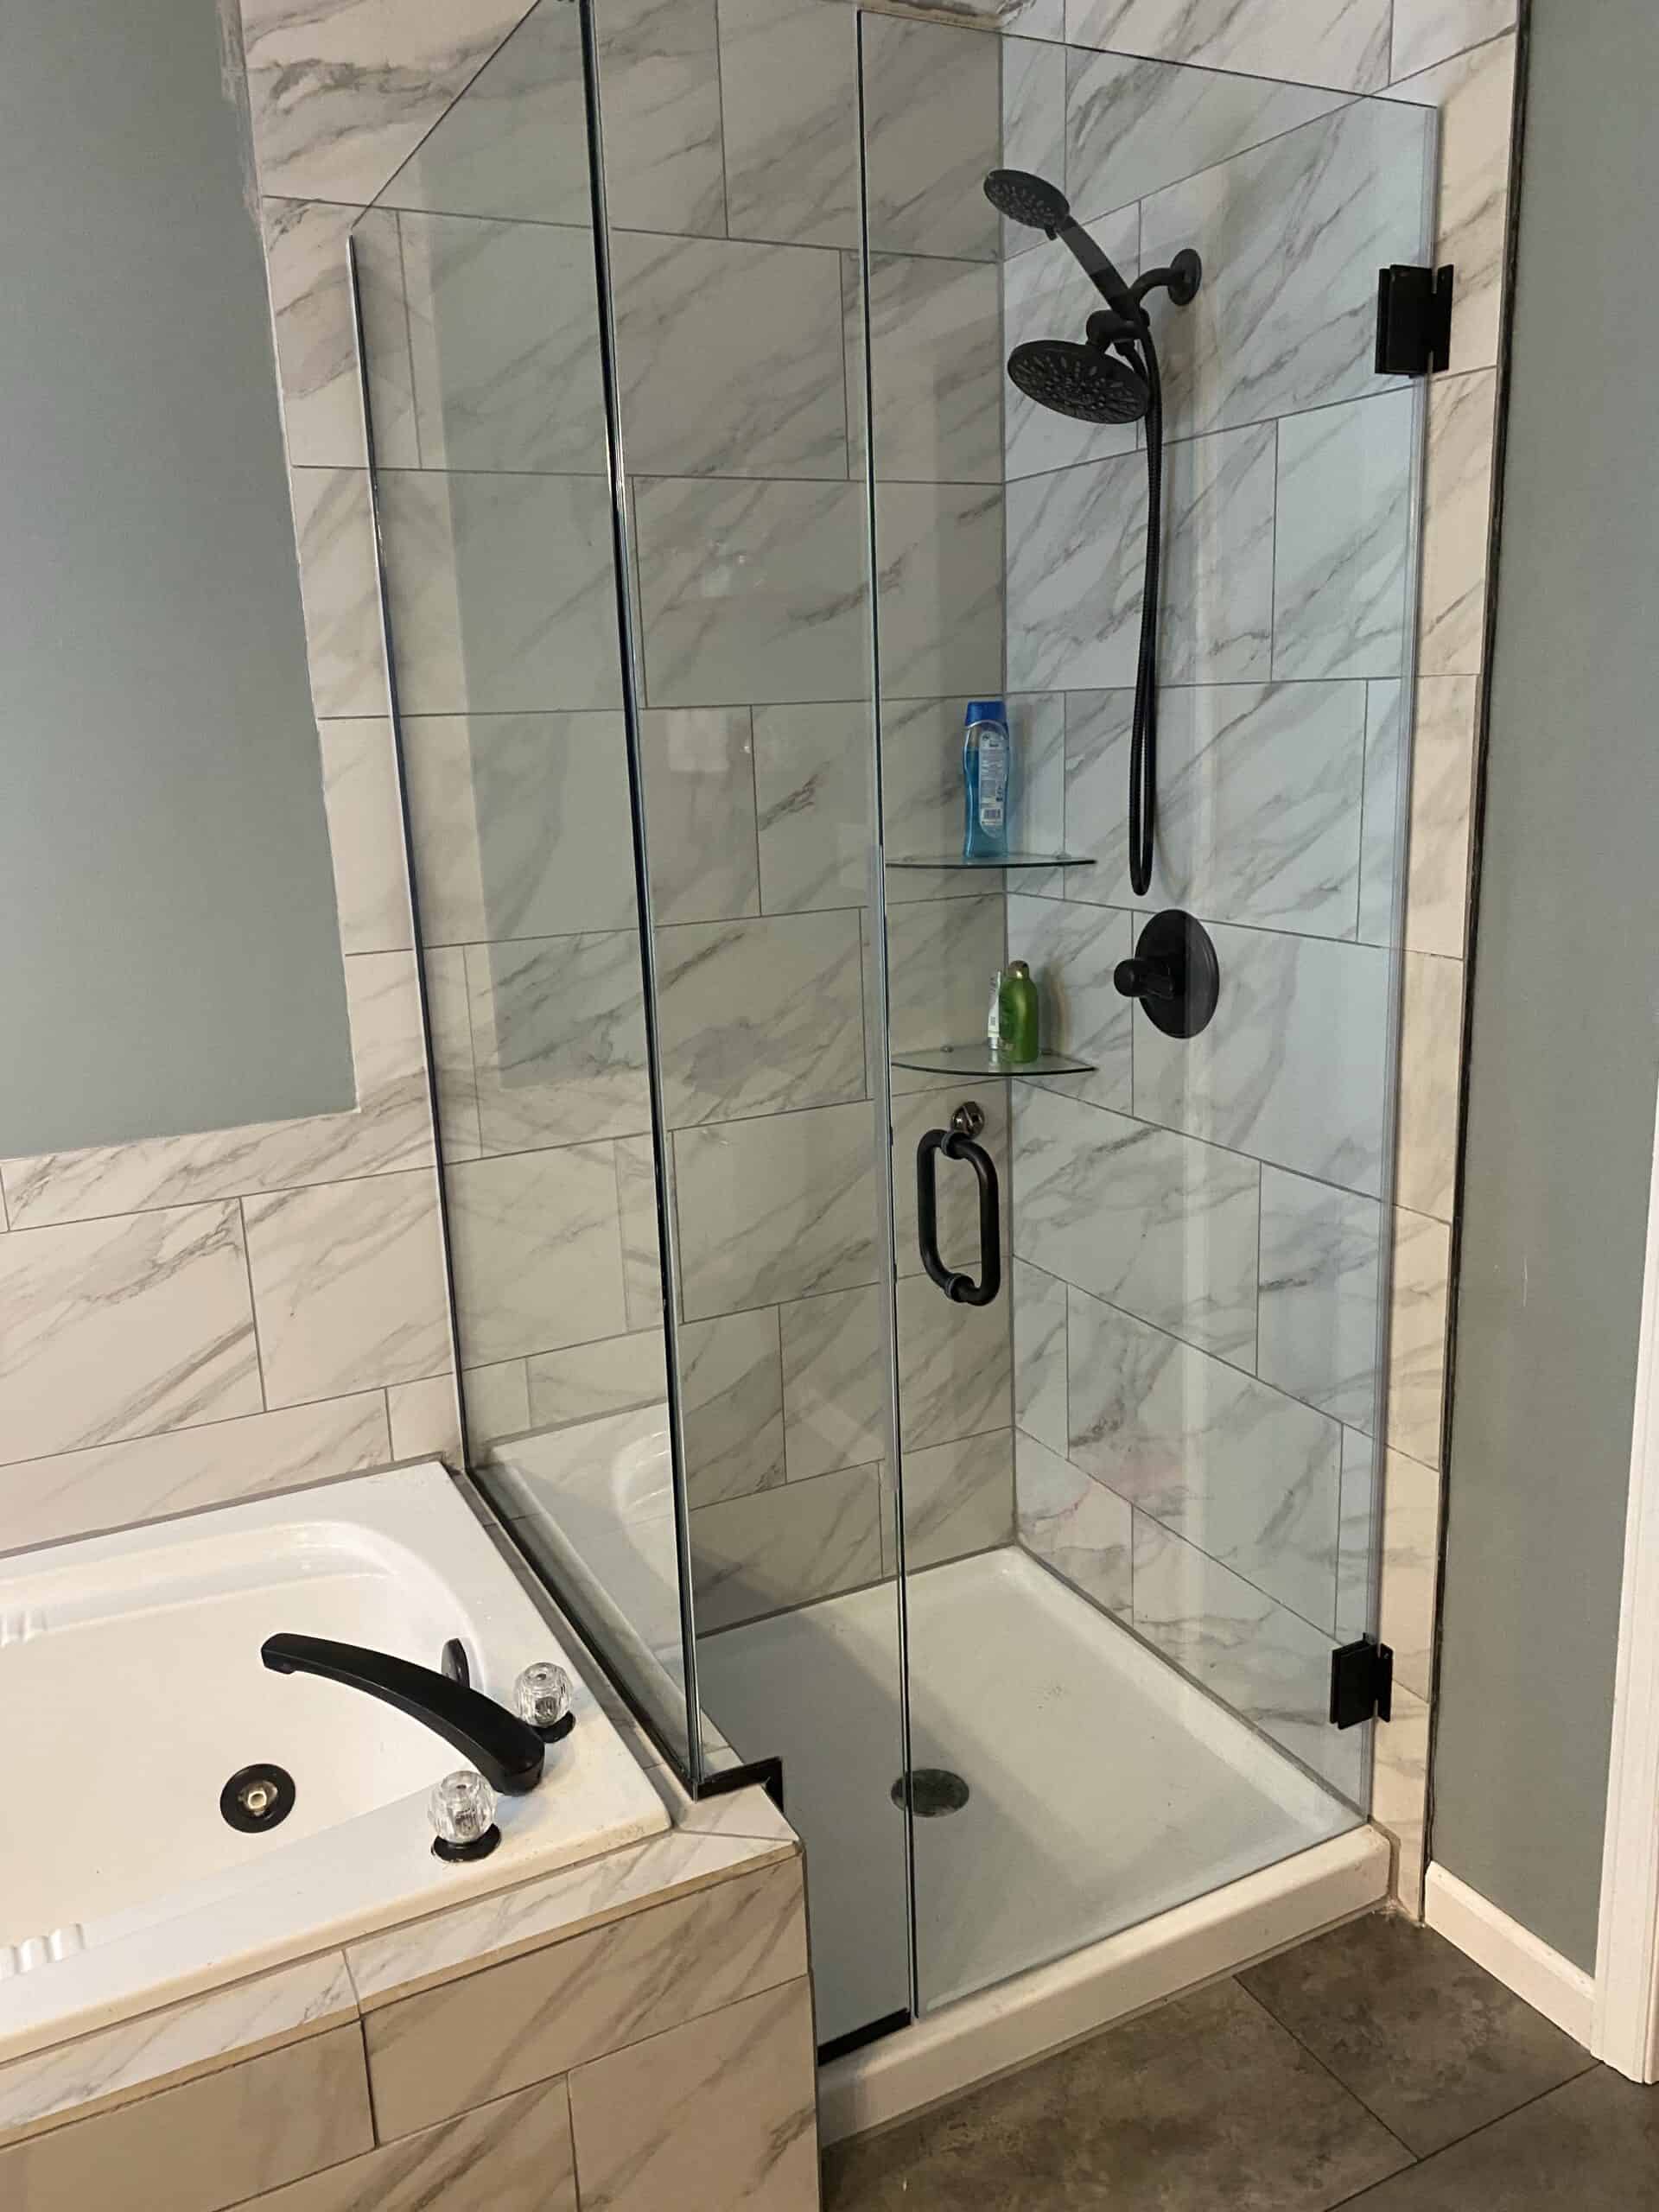
After finishing tiling my shower and bath surround, it was on to the final step: installing a glass shower panel with u channels. I purchased 3 custom shower glass panes. 2 of these panes would be fixed panel, which just means they are held in place using a U channel, and the last piece, the door, would be attached by two hinges. The U channel is a metal piece the shower panel sinks into.

I added a set of shower shelves in the corner. For these Glass shelves, I used a tile drill bit similar to these, insert caulk in the drilled hole and finished the install. The hook shown is simply suctioned onto the tile. When drilling into tile, its important to keep the drill bit wet. Using a spray bottle with cool clean water works great! (Make sure you lay towels below where you are drilling.)

I installed the shower head and handle as well before installing the door. Check out my other post on how to replace a shower head.
As I said, I ordered 3 custom glass shower panels, I started with the shower door installation. The other 2 panels are fixed in place. The hinges were also installed by drilling with a tile bit and using a spray bottle to keep the drill bit wet while drilling. Before inserting the screws to secure the hinges, I added bathroom grade caulk to the hole. Once the hinges were mounted, I installed the shower door. I was very careful not to overtighten the hinge screws when adding the door.
The U channel was next (the dark metal piece the shower panels fit into). I also drilled the holes for the U channel using a tile drill bit, adding some caulk to the hole as well as underneath the U channel, and adding the screws. I mitered the edge of the U channel (which is just a fancy way of saying I cut the corners to meet at a diagonal). Its very important to make sure these U channels are square and plumb since to allow the glass panel to fit appropriately.

Next, I dry fit the panel that meets up with the door, and was SO THRILLED when it fit. These custom glass panels aren’t cheap, and I knew if it didn’t fit, it would likely be due to user error.
Did you notice the beautiful drywall job I did on the hole in the ceiling leftover from where the wall was removed? Pretty ugly, right? Check out my post about installing shiplap on the ceiling. It looks WAY better now!

I was so close to being done! Just one more panel and I could caulk them in place and FINALLY have the shower finished!
And then…..

I had a very. bad. day….. the last panel caught for a SECOND on the edge of the U Channel and literally burst into a million pieces. It was a very humbling moment for me. And more so when I called the glass company to order a replacement panel….
I had some superficial cuts on my arms, but other than that I was completely unharmed (wish I could say the same for my ego).
BUT, the show must go on.

When the replacement panel came, I opted to ask for help this time around. I’m happy to report: with an extra hand to help with the final glass piece, I was able to get all 3 panes installed and caulked! I am EXTREMELY proud of this shower! I wish I had done this years ago! It’s been several months now, and no leaks to report, and its so light and open, I just love it!
As a DIY’er, it’s important to know your limits and when to ask for help. This project reminded me of that. Sometime you need an extra set of Two Hands.
Happy DIY’ing!
Disclosure: Twohandsdiy.com participates in the Amazon Services LLC Associates Program, an affiliate advertising program designed to provide a means for publishers to earn fees by linking to Amazon.com and affiliated sites.


Complete DIY Master Bathroom Renovation - Two Hands DIY
[…] Installing semi frameless shower enclosure […]