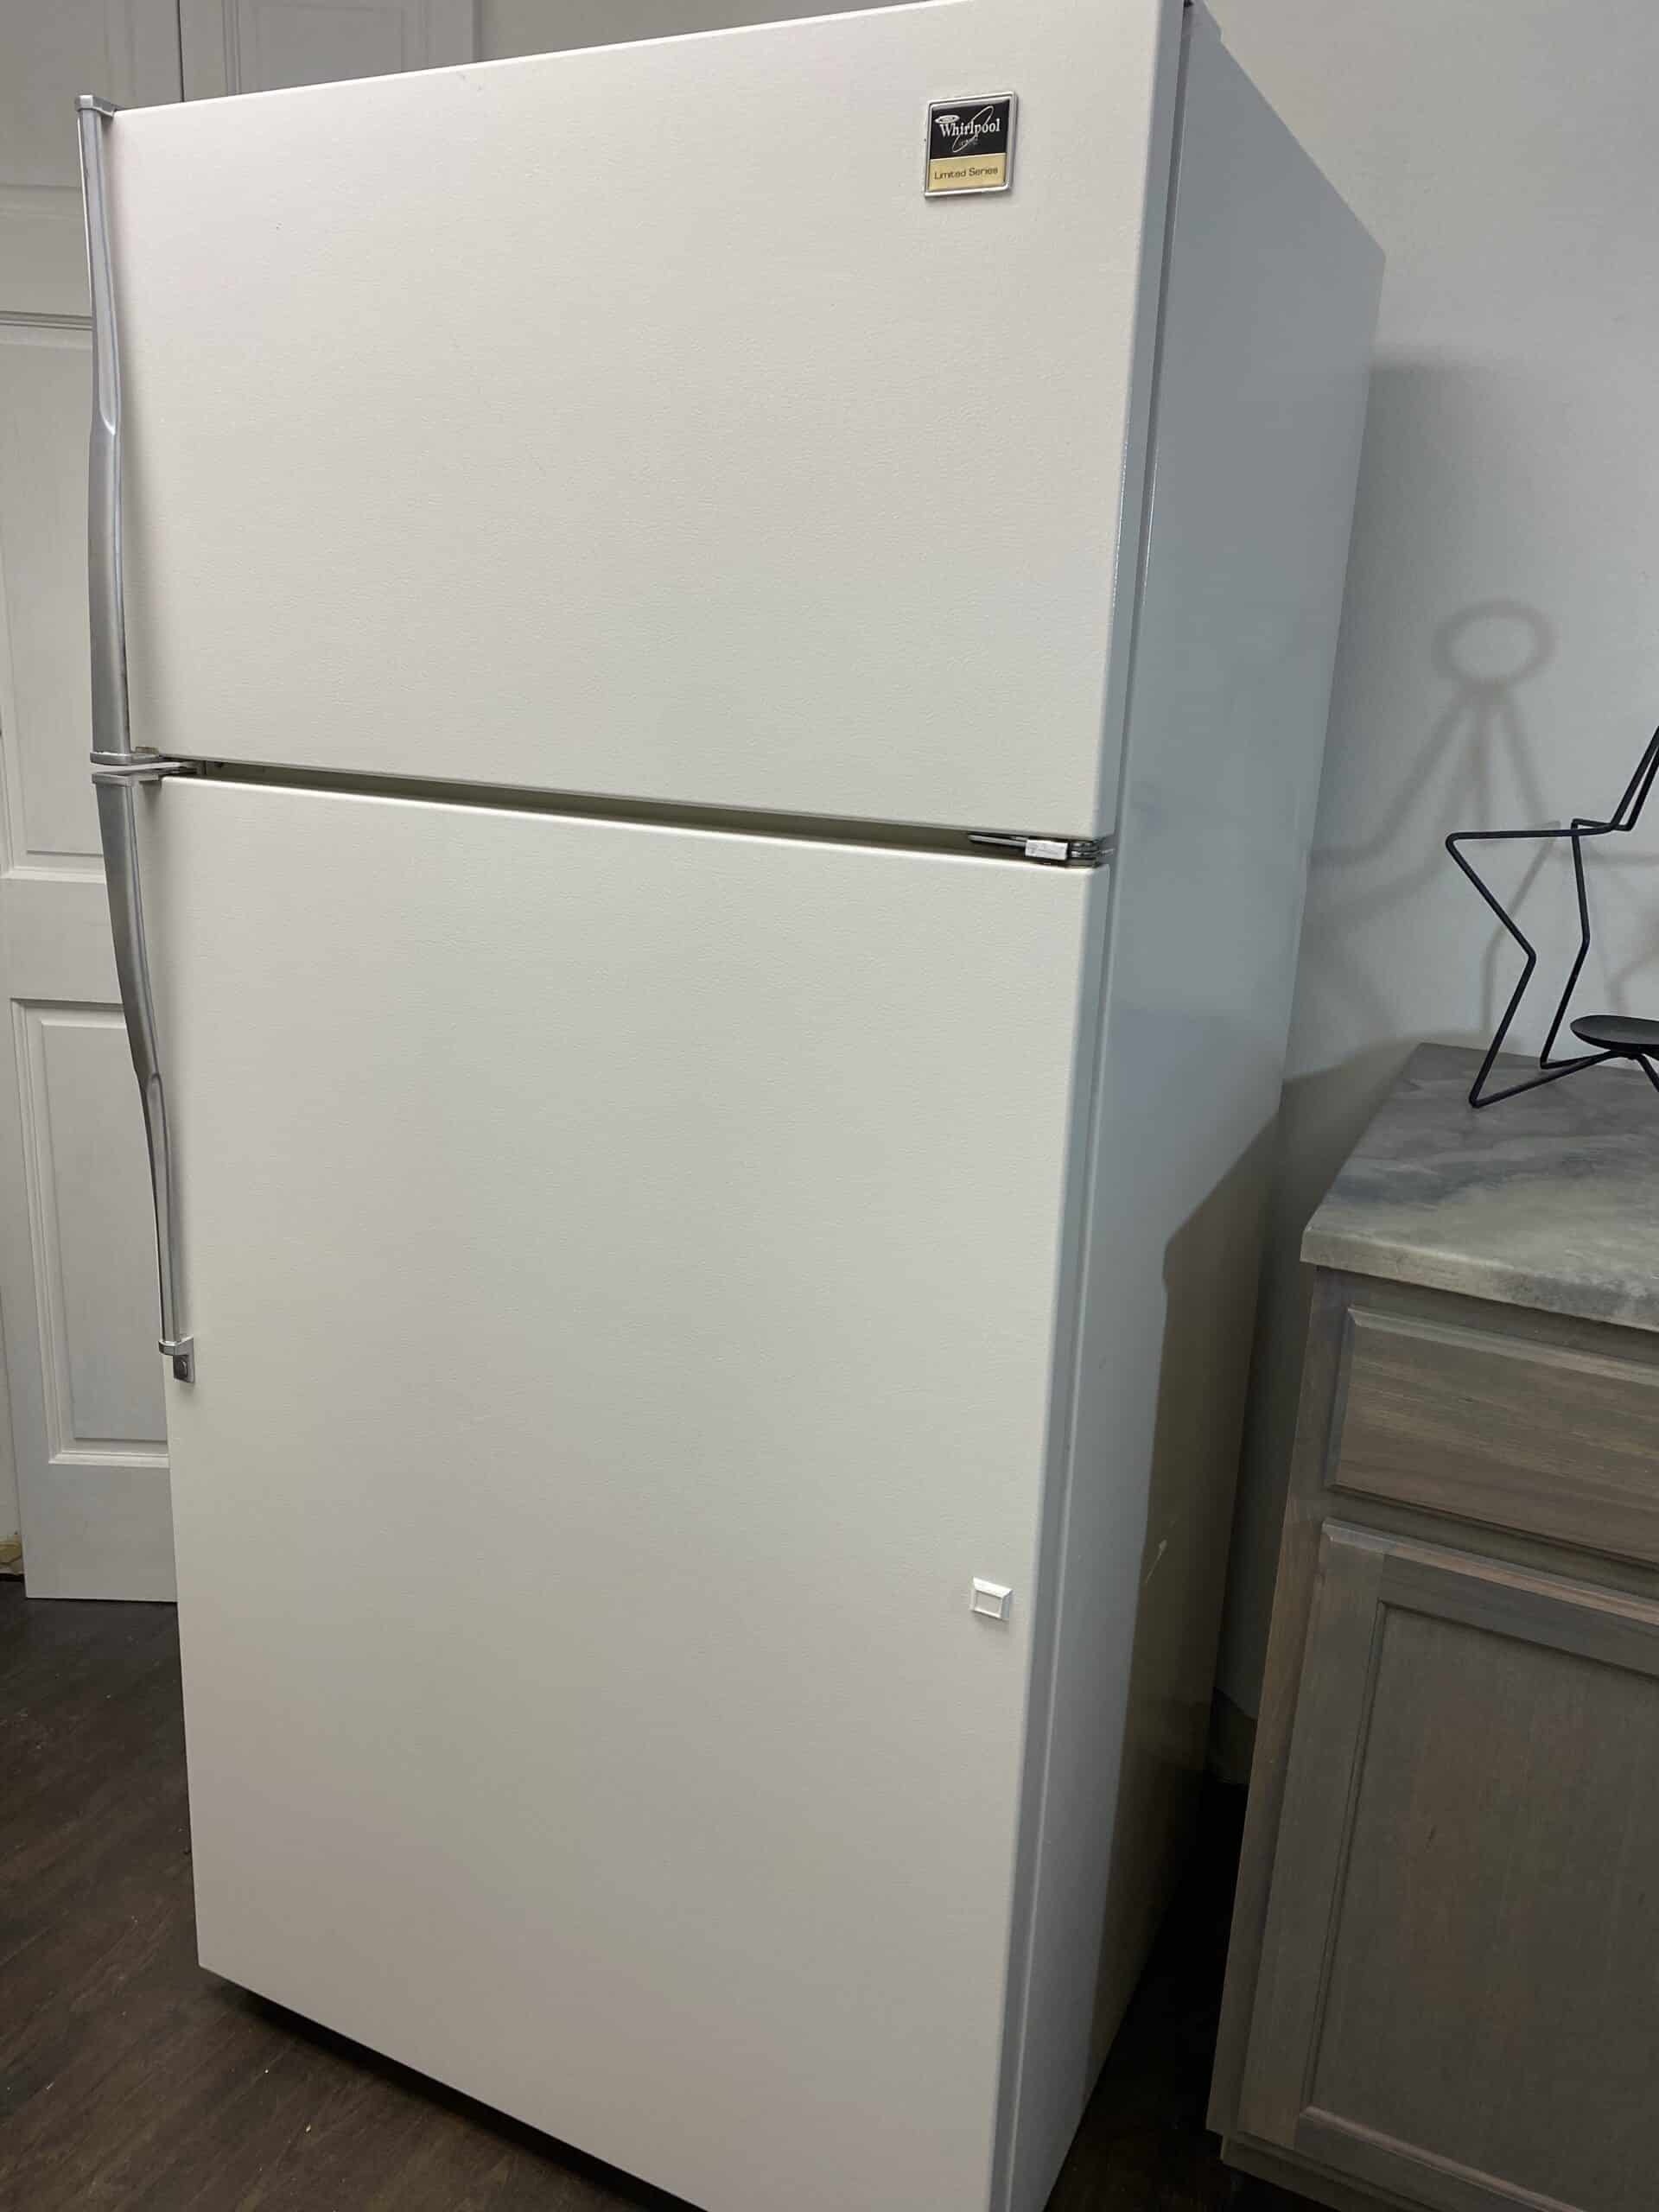
This refrigerator is in my basement and holds all my “extra” refrigerated items. It is great to have but came to me very well loved. It was an almond color with lots of rust and other stains. You’ve all seen a fridge like this in someones basement or garage….
But it was a fully functional fridge, and it was great to have the extra room. It seems rather wasteful (and silly) to trade it in for a new model just because the exterior was ugly.
My solution: paint it! It couldn’t make it look much worse! I was building a kitchenette in this basement space, so I chose to paint the refrigerator white for a bright, clean look. I also installed new cabinets and custom resin/epoxy countertops for the kitchenette.
Step 1:
Remove any of the hardware, like the handle. Move items out of the fridge if needed as you will likely have to have the doors open for at least and hour while painting and drying.
My handle was “faux-wood”, which was really outdated… so I used Rust-oleum metallic silver spray paint to change the color.
Step 2:
Clean the fridge WELL. Your favorite all-purpose cleaner should work fine. Make sure to remove any grease or grime. Allow the fridge to dry completely.
Lightly sand all surfaces with sandpaper grit at least 120. The idea is to scuff the surface so the appliance paint epoxy has something to bond to. If the surface is too smooth, the epoxy won’t last as long.
Use a rag sprayed with isopropyl alcohol to clean all dust from the surface after sanding.
Step 3:
Using a 1-inch foam roller, apply the first coat of Rust-oleum white appliance paint. It’s ok if you can see the roller lines, that’s typical for the first coat.

For the rubber liner on the interior of the door, I used the Rust-oleum white appliance spray paint. I sprayed the rubber with a 2 thinly applied coats. This is a specialty appliance epoxy, so use proper ventilation and air flow for the location. After this step you should have one coat of paint your fridge.
Let the fridge paint dry completely. Repeat with as many coats as it takes (likely 3-4) until the fridge is to your liking.
Re-attach the hardware!
The real question: Did it last?
I completed this project a almost 2 years ago (in Jan 2021), and the paint looks exactly the same as the day it was complete! I used to cringe when I saw this refrigerator, and now it has a permanent place in my home. I love the updated look of my “new” white fridge!
Please SUBSCRIBE to get weekly notifications on new posts!
Happy DIY’ing!
Disclosure: Twohandsdiy.com participates in the Amazon Services LLC Associates Program, an affiliate advertising program designed to provide a means for publishers to earn fees by linking to Amazon.com and affiliated sites.


Basement Kitchen - Two Hands DIY
[…] Update refrigerator using white appliance paint […]
New kitchen countertops with epoxy resin - Two Hands DIY
[…] also laid the flooring and painted the refrigerator white. SUBSCRIBE below to always get notified when new project posts come […]
Giovanni Carll
You’ve been very helpful to me. Thank you!